Author: admin

  • Website Performance Optimization With Code Snippets

    Website Performance Optimization With Code Snippets

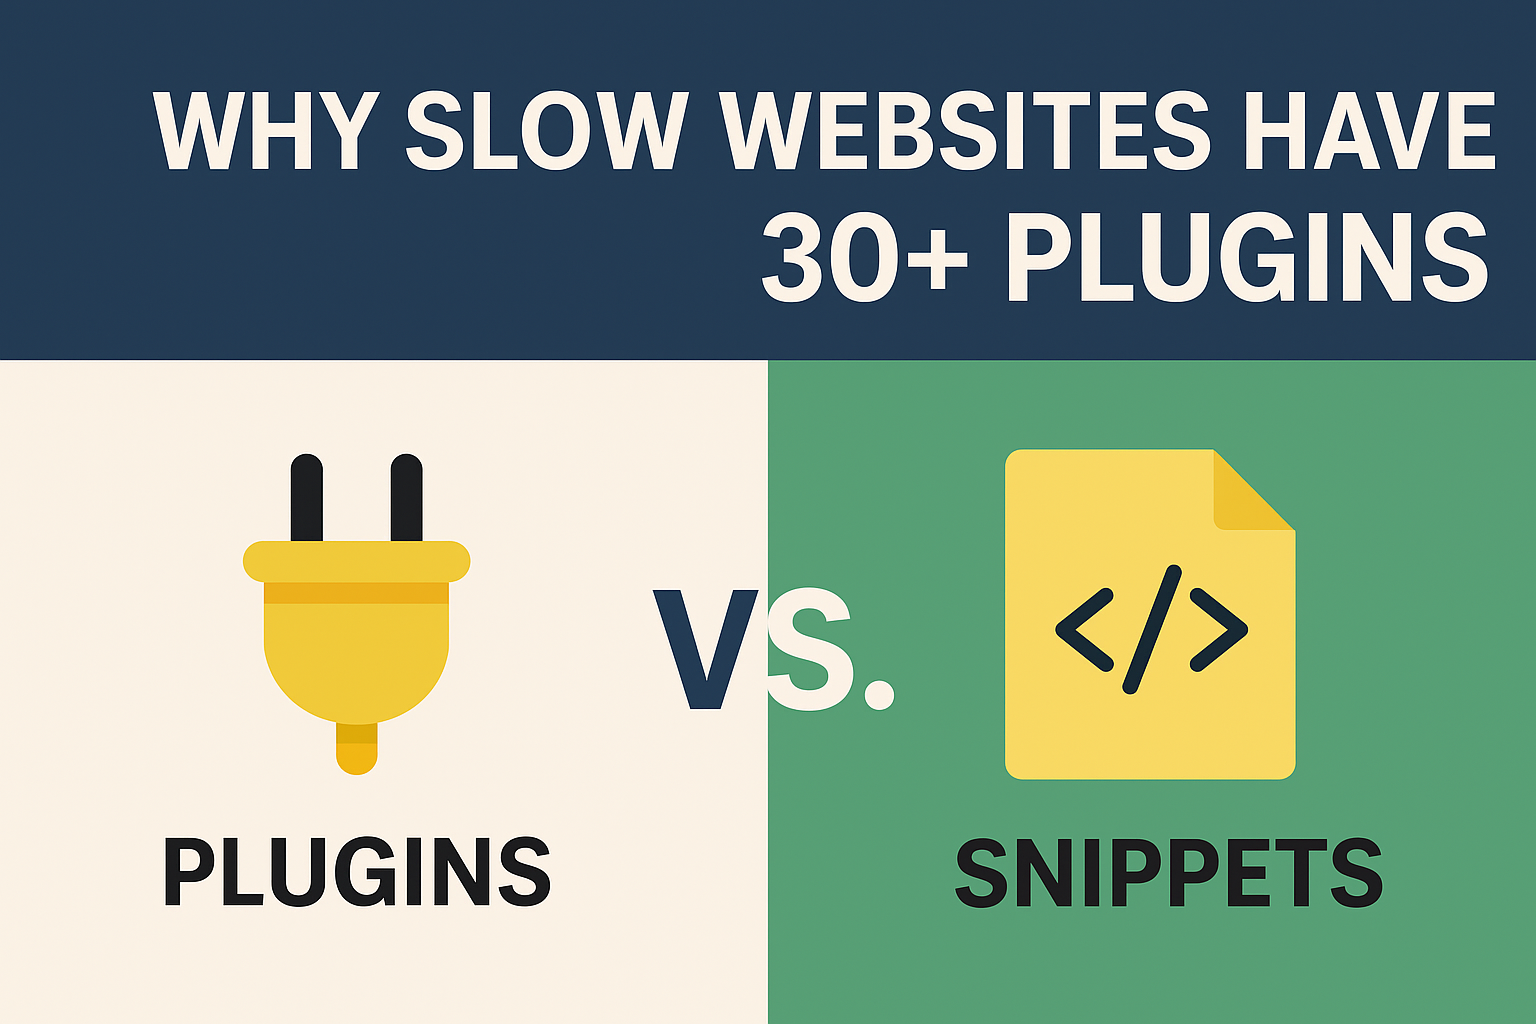
    Why Many Slow Websites Have 30+ Plugins Installed — And Why Snippets Are the Better Choice

    Website performance optimization is critical for success, yet I consistently find slow websites with 30, 40, sometimes even 50 plugins installed. This creates sites that are slow, unstable, and insecure. The solution? Replace unnecessary plugins with lightweight code snippets for simple tasks.

    Many of these plugins do extremely small jobs that could easily be handled with a few lines of code instead. Let’s break down why this happens and how smart plugin management can dramatically improve your site speed.

    Why People Install So Many Plugins

    Understanding the plugin problem is essential for website performance optimization. Most website owners fall into the same trap.

    1. They Don’t Know Code — So Plugins Feel Safer

    Most website owners aren’t developers. When they need a small feature like hiding the admin bar, adding custom CSS, or disabling an emoji script, they naturally turn to plugins. It’s a quick and familiar solution, but it often compromises site speed.

    2. Plugins Are Advertised as “One-Click Solutions”

    Even if a website only needs one tiny function, many plugins bundle 20+ features together. Because it’s easy to install, people don’t think twice about the impact on website speed and performance.

    3. Tutorials Often Recommend Plugins

    Many online tutorials promote plugins because it’s beginner-friendly. The result? People install multiple plugins for tasks that require only three lines of code, completely ignoring WordPress performance best practices.

    How Too Many Plugins Slow Down Your Site

    Each plugin loads extra scripts that negatively impact your site’s speed. Even small plugins can add JavaScript files, CSS files, database queries, and background processes. This is why experts recommend replacing simple plugins with code snippets.


    Performance Issues: Extra Scripts Slow Down Your Site

    Even small plugins can add:

    • JavaScript files that block page rendering
    • CSS files that increase load time
    • Database queries that slow server response
    • Background processes that consume resources

    Multiply this by 30+ plugins, and your site becomes significantly slower. True optimization requires minimizing these unnecessary assets.

    Plugin Conflicts Reduce Site Performance

    The more plugins installed, the higher the risk of:

    • Feature conflicts that break functionality
    • Error messages that disrupt user experience
    • Broken layouts that hurt conversions
    • Backend issues that complicate WordPress maintenance

    Snippets, on the other hand, are lightweight and isolated, making them ideal for faster sites.

    Security Risks Increase

    Each plugin is an entry point for attackers. Outdated or poorly coded plugins can cause massive vulnerabilities that not only compromise security but also degrade speed. Learn more about WordPress security strategies to protect your site.

    Examples of Plugins That Can Be Replaced With Snippets

    These are real examples I frequently see when auditing slow websites:

    • Plugins just to disable the WordPress emoji script
    • Plugins to hide the admin toolbar
    • Plugins to disable XML-RPC
    • Plugins to add Google Analytics code
    • Plugins to change the login page text
    • Plugins to add custom CSS or JS


    All of these can be done with a snippet of a few lines added to functions.php or a code manager plugin. This approach significantly improves speed and efficiency.

    Why Snippets Are Often the Better Choice

    For faster sites, snippets are often superior because they don’t load extra scripts or large codebases. They’re extremely lightweight and run only what you need.

    1. Faster Loading Speed

    Snippets don’t load extra scripts or large codebases. They’re extremely lightweight and run only what you need. This directly supports Core Web Vitals improvement efforts.

    2. No Bloat or Extra Features

    Plugins often include settings and tools you never use. Snippets contain only the essential code, making them perfect for lean, fast websites.

    3. More Stability, Fewer Conflicts

    Clean snippets rarely conflict with other features because they’re minimal and controlled. This stability is essential for long-term site health.

    4. Perfect for Small Customizations

    For simple functions, snippets are more efficient and maintainable. They give you complete control over your customizations.

    When You Should Still Use Plugins


    Of course, not everything should be a snippet. Plugins are better when you need:

    • Complex features (SEO tools, caching systems, e-commerce, forms)
    • Regular updates and security patches
    • A settings interface with multiple options
    • Large functionality that snippets can’t handle efficiently

    The key is knowing when to use each approach for better website performance optimization.

    Final Thoughts

    The biggest reason many websites run slowly is depending on plugins for every small feature.

    By replacing unnecessary plugins with clean code snippets, you can:

    • Speed up your website dramatically
    • Reduce conflicts and errors
    • Increase security and stability
    • Improve SEO and user experience
    • Enhance Core Web Vitals scores

    The key is balance. Use plugins when the feature is truly complex, and use snippets for everything small and simple.

    This approach, combined with other speed optimization techniques, leads to a faster, cleaner, and much more efficient website. Start your optimization journey today by auditing your current plugin list and identifying which ones can be replaced with simple code snippets.

    Frequently Asked Questions

    How many plugins slow down WordPress?

    While there’s no magic number, having 30+ plugins—especially when many do simple tasks—can significantly impact speed. The key is reducing plugins that can be replaced with lightweight code snippets for better website performance optimization.

    Are code snippets better than plugins?

    For simple customizations, code snippets are superior: they’re faster, lighter, and don’t cause plugin bloat. However, complex features still need dedicated plugins.

    How do I replace plugins with code snippets safely?

    Use a code snippet manager plugin or carefully add custom code snippets to your child theme’s functions.php file. Always backup before making changes.

    Which plugins can I remove to improve speed?

    You can safely remove unnecessary plugins for: disabling emojis, hiding the admin bar, adding custom CSS, disabling XML-RPC, and adding tracking codes. These are perfect candidates for replacement with snippets.

  • Secure Your WordPress Site: Top Security Tips for 2025

    Secure Your WordPress Site: Top Security Tips for 2025

    🛡️ How to Secure Your WordPress Website: A Complete Guide for 2025


    If you’re running a WordPress website, security should be one of your top priorities. With over 43% of the web powered by WordPress, it’s a common target for hackers, spammers, and malicious bots. The good news? Securing your WordPress site doesn’t have to be complicated.

    In this guide, you’ll learn exactly how to secure your WordPress website in 2025 using the latest strategies and best practices — even if you’re not a tech expert.


    🔒 Why WordPress Security Matters

    Every day, thousands of WordPress websites are compromised due to outdated plugins, weak passwords, or poor server configurations. A hacked site can:

    • Leak sensitive customer data

    • Damage your SEO rankings

    • Spread malware to visitors

    • Result in loss of revenue and trust

    A secure website builds credibility and protects your hard-earned online presence.


    ✅ 1. Keep WordPress Core, Themes, and Plugins Updated

    Outdated software is the #1 cause of WordPress hacks. Updates often include security patches that fix known vulnerabilities.

    • Enable automatic updates for the core

    • Regularly update plugins and themes

    • Remove unused plugins and themes completely

    💡 Tip: Use a plugin like WP Updates Notifier to get email alerts when updates are available.


    🔐 2. Use Strong Login Credentials

    Weak usernames and passwords are easy targets for brute force attacks.

    • Never use “admin” as your username

    • Use a strong password generator

    • Add two-factor authentication (2FA) using plugins like WP 2FA

    🔐 2FA adds an extra layer of security, requiring both a password and a one-time code.


    🧱 3. Install a Security Plugin

    WordPress security plugins help monitor, scan, and protect your site.

    Top recommended plugins:

    • Wordfence Security – firewall + malware scanner

    • Sucuri Security – activity auditing and malware removal

    • iThemes Security – brute force protection and file change detection

    Choose one and configure it properly.


    🌐 4. Use HTTPS and SSL Certificate

    Google favors secure sites (HTTPS) in its search rankings. An SSL certificate encrypts data between your server and visitors.

    • Get a free SSL from Let’s Encrypt

    • Most hosting providers offer 1-click SSL installations

    • Use the Really Simple SSL plugin if needed


    🧠 5. Limit Login Attempts

    By default, WordPress allows unlimited login attempts. This makes brute-force attacks easy.

    Use plugins like:

    • Limit Login Attempts Reloaded

    • Login LockDown

    This blocks users who repeatedly fail to log in after a set number of attempts.


    🔍 6. Scan for Malware Regularly

    Regular malware scanning ensures your site is clean and alert you to hidden threats.

    • Use Wordfence, MalCare, or Sucuri

    • Set up scheduled scans (daily or weekly)

    🧪 Pro Tip: If you’re running an eCommerce site or handling sensitive data, scan more frequently.


    🚫 7. Disable XML-RPC

    XML-RPC is a WordPress feature often exploited for DDoS and brute-force attacks. If you’re not using remote publishing or Jetpack:

    • Add this to your .htaccess file:

    <Files xmlrpc.php>
    Order Deny,Allow
    Deny from all
    </Files>
    Or use a plugin like Disable XML-RPC.

    🔐 8. Change the Default Login URL

    Most bots target /wp-login.php or /wp-admin. Changing the login URL adds a layer of protection.

    Use:

    • WPS Hide Login

    • iThemes Security

    Example: change yoursite.com/wp-login.php to yoursite.com/my-dashboard.


    📦 9. Set File Permissions Correctly

    Incorrect file permissions can expose your WordPress files.

    Recommended settings:

    • wp-config.php → 400 or 440

    • Folders → 755

    • Files → 644

    Use an FTP client or File Manager in your hosting panel.


    💾 10. Backup Your Website Regularly

    Backups are your safety net. If something goes wrong, a backup helps you recover fast.

    Best backup plugins:

    • UpdraftPlus

    • BlogVault

    • Jetpack Backup

    Store backups offsite (Dropbox, Google Drive, etc.), not just on your server.


    ⚙️ Bonus Tips

    • Disable directory browsing

    • Hide WordPress version

    • Monitor user activity

    • Use a secure hosting provider (preferably with WAF and DDoS protection)

    • Set up a Web Application Firewall (WAF)


    📈 Final Thoughts: Secure Site = Better SEO & Trust

    A secure WordPress website:

    • Improves your SEO rankings

    • Increases visitor trust

    • Protects your data

    • Keeps your business running smoothly

    Don’t wait for a hack to happen. Start applying these security best practices today.


    🔁 Share This Guide

    If you found this article useful, share it with others or bookmark it for later. A secure web starts with informed website owners!


    📚 More Resources

  • Elementor WordPress SEO: How to Boost Rankings with Page Builder Tools

    Elementor WordPress SEO: How to Boost Rankings with Page Builder Tools

    🚀 How Elementor Supercharges Your WordPress Website for SEO Success

    Want to improve your Google rankings using Elementor? This article will walk you through how Elementor WordPress SEO techniques can transform your website performance and search visibility — even if you’re not an expert.

    What Is Elementor?

    Elementor is a powerful drag-and-drop page builder plugin for WordPress that allows you to design beautiful, responsive websites — without writing a single line of code.

    But Elementor isn’t just about design. When used strategically, it can also help you boost your SEO rankings.


    🔍 5 Ways Elementor Can Improve Your SEO Performance

    1. Lightning-Fast Page Speed (When Used Correctly)

    Elementor has evolved to offer leaner code output and compatibility with performance tools like WP Rocket, LiteSpeed Cache, and Perfmatters. With proper optimization, Elementor-based sites can score 90+ on Google PageSpeed Insights.

    💡 Tip: Avoid overusing widgets or unnecessary plugins. Stick with global styles and Elementor containers to reduce DOM size.


    2. Mobile Optimization Built-In

    Google uses mobile-first indexing, meaning your mobile site matters more than desktop. Elementor ensures that your designs are responsive by default.

    💡 Tip: Use Elementor’s responsive settings to adjust padding, font sizes, and image display for tablets and phones.


    3. Schema & SEO Plugins Integration

    Elementor works seamlessly with SEO plugins like Rank Math, Yoast, and All in One SEO. These tools help you insert structured data, meta tags, social previews, and sitemaps.

    💡 Tip: Add FAQ Schema blocks or How-To sections in Elementor using Rank Math to improve visibility on Google’s rich results.


    4. Visual Content = Lower Bounce Rate

    Visitors are more likely to stay on a visually engaging site. With Elementor, you can add interactive content like sliders, animated headlines, accordions, and videos — all without slowing down your site.

    💡 Tip: Use lazy loading and optimized media formats like WebP for best performance.


    5. Built-In Landing Page Capabilities

    Want to run Google Ads or promote a product? Elementor’s full-width, distraction-free landing page mode makes it easy to build high-converting pages with clear CTAs and A/B testing tools.

    💡 Tip: Combine Elementor Pro with Google Analytics and Meta Pixel to track conversions and user behavior.


    📈 Real Results: Elementor Websites Rank Better

    A recent case study by Elementor showed that a well-optimized Elementor site experienced a 40% boost in organic traffic over three months simply by:

    • Compressing images

    • Reducing plugin bloat

    • Improving Core Web Vitals

    • Leveraging Elementor’s built-in SEO tools


    Final Thoughts

    Using Elementor for WordPress isn’t just about making your site look pretty — it’s about creating a better user experience that Google rewards. With the right setup, Elementor can be your secret weapon for SEO and online growth.


    ✅ Ready to Get Started?

    Want to make your Elementor website faster, more SEO-friendly, and rank higher in Google? Let’s talk! [Contact us today] or check out our WordPress optimization services.

  • How to Use Elementor and ACF Together – Step-by-Step WordPress Guide

    How to Use Elementor and ACF Together – Step-by-Step WordPress Guide

    How to Use Elementor and ACF Together – Step-by-Step WordPress Guide

    Want to learn how to use Elementor and ACF together to build powerful WordPress websites? This guide shows you exactly how to combine both tools to create dynamic, custom layouts without writing any code.

    Using Elementor, a visual page builder, along with Advanced Custom Fields (ACF) allows you to create flexible, personalized designs that automatically pull in custom data for each post or page.


    What Is ACF?

    Advanced Custom Fields (ACF) is a popular WordPress plugin that enables you to create and manage custom fields for posts, pages, users, or any custom post type. These fields can store text, images, links, or even complex data structures like repeaters or flexible content layouts.


    Why Combine Elementor and ACF?

    While Elementor gives you visual control over layout and design, ACF enables you to store structured content. Together, they help you:

    • Build fully customized templates

    • Display dynamic, post-specific content

    • Speed up site management by separating content from layout

    • Improve SEO through better content structure and consistency


    Step 1: Install Elementor and ACF

    1. Go to Plugins > Add New in your WordPress dashboard.

    2. Install and activate:

    3. (Recommended) Get Elementor Pro, which is required to access dynamic content features.


    Step 2: Create Custom Fields with ACF

    1. Navigate to Custom Fields > Add New.

    2. Name your field group, such as “Team Member Info”.

    3. Add fields like:

      • Job Title (Text)

      • Profile Image (Image)

      • LinkedIn URL (URL)

    4. Set the location rule (e.g., “Post Type is equal to Team Member”).

    5. Click Publish.


    Step 3: Add Content to Custom Fields

    1. Go to the edit screen of a post that matches the field group.

    2. Scroll down to find your ACF fields.

    3. Fill in the data (e.g., name, title, photo).

    4. Click Update.


    Step 4: Display ACF Data in Elementor

    1. Open the page/post in Elementor Editor.

    2. Drag in a widget like a Heading, Image, or Button.

    3. Click the Dynamic Tags icon next to the content input.

    4. Choose ACF Field.

    5. Click the wrench icon ⚙️ to select the correct custom field.

    6. Style it as needed using Elementor controls.

    ✅ Example: Set an Image widget to show the “Profile Image” field. Now each team member will display their unique image automatically.


    Bonus: Use Elementor Theme Builder

    With Elementor Pro, you can create dynamic templates using Theme Builder for:

    • Single Posts

    • Archive Pages

    • Custom Post Types

    This means you design once, and ACF handles the content for each entry. Great for building directories, portfolios, or team listings.


    Final Thoughts

    Combining Elementor and ACF gives you the power to build beautiful, data-driven websites that are easy to update and scale. Whether you’re creating listings, portfolios, or landing pages, this dynamic duo can streamline your design process and enhance your SEO efforts.

    Start using Elementor and ACF together today to build smarter, faster, and more flexible WordPress websites!

  • How to Create Custom Post Types in WordPress [2025 Guide]

    How to Create Custom Post Types in WordPress [2025 Guide]

    How to Create Custom Post Types in WordPress (Step-by-Step)

    Want to organize your WordPress content beyond posts and pages? Creating custom post types is the perfect solution. In this guide, you’ll learn exactly how to do it — with or without a plugin.

    What Are Custom Post Types?

    By default, WordPress includes two main post types: Posts and Pages. However, sometimes you need to manage other kinds of content like:

    • Portfolios
    • Testimonials
    • Recipes
    • Real estate listings
    • Vehicles or products

    This is where custom post types come in — they let you create separate content types that behave just like posts but are customized for your needs.

    Method 1: Use a Plugin (No Code Required)

    If you prefer not to touch code, a plugin is the easiest way to create custom post types.

    ✅ Recommended Plugin: Custom Post Type UI

    Steps:

    1. Install and activate the Custom Post Type UI plugin.
    2. Go to CPT UI → Add/Edit Post Types.
    3. Enter a slug (e.g., portfolio) and a name (e.g., “Portfolio”).
    4. Configure settings as needed (e.g., menu icon, support for custom fields).
    5. Click Add Post Type.

    That’s it! Your new post type will now appear in the WordPress admin menu.

    Method 2: Register a Custom Post Type Manually (With Code)

    Prefer to keep things lightweight? You can register custom post types directly in your theme’s functions.php file or via a custom plugin.

    Example Code:

    
    function register_portfolio_post_type() {
        register_post_type('portfolio',
            array(
                'labels' => array(
                    'name' => __('Portfolios'),
                    'singular_name' => __('Portfolio')
                ),
                'public' => true,
                'has_archive' => true,
                'rewrite' => array('slug' => 'portfolio'),
                'supports' => array('title', 'editor', 'thumbnail', 'custom-fields'),
                'menu_icon' => 'dashicons-portfolio',
            )
        );
    }
    add_action('init', 'register_portfolio_post_type');
    

    This code registers a “Portfolio” post type with support for custom fields, thumbnails, and more.

    How to Display Custom Post Types on Your Site

    After creating a custom post type, you’ll likely want to show them on your site. Here are two common ways:

    • Using Elementor: Use a Post widget and filter by post type.
    • With PHP: Use WP_Query to loop through custom posts manually.

    Enhance Your Custom Post Types with ACF

    Pairing custom post types with Advanced Custom Fields (ACF) gives you even more flexibility. You can add fields like:

    • Ratings
    • Contact info
    • Maps and images
    • File uploads

    ACF makes it easy to display this data with Elementor or PHP templates.

    Bonus: SEO Benefits of Custom Post Types

    Using custom post types improves your site structure and helps search engines understand your content. Combined with plugins like Yoast SEO or Rank Math, you can:

    • Optimize custom post meta titles and descriptions
    • Add schema markup using ACF
    • Create targeted sitemaps

    Conclusion

    Creating custom post types in WordPress unlocks a whole new level of organization and customization. Whether you’re building a portfolio site, a real estate listing platform, or a product catalog, custom post types give you the power to manage content your way.

    Want to take it further? Check out our full guide on how to use Elementor and ACF together — the perfect trio for advanced WordPress sites.

  • Elementor + ACF: Build Dynamic WordPress Sites (2025)

    Elementor + ACF: Build Dynamic WordPress Sites (2025)

    Why Using Elementor and ACF Together is a Smart Choice

    1. Dynamic Content Made Easy

    With ACF, adding custom fields to any post type is straightforward. Whether it’s a blog post, product page, or staff profile, dynamic content becomes simple to manage. Additionally, Elementor lets you insert these fields visually — no PHP required.

    ✅ Example: Want to show a team member’s name, title, and social links? Just create ACF fields and use Elementor’s dynamic tags to display them seamlessly.

    2. Better Client Experience

    Clients will find content editing more intuitive. They can update details like testimonials, pricing, or bios directly from the WordPress dashboard. As a result, the design stays consistent while content remains flexible.

    3. SEO Optimization

    Structured data created via ACF helps search engines understand your content better. Elementor’s responsive controls also ensure that every layout adapts beautifully to any screen size — an essential factor for Google rankings.

    How to Set Up Elementor and ACF on Your WordPress Site

    ✅ Step 1: Install the Plugins

    • Elementor (Free or Pro)
    • Advanced Custom Fields
    • Optional: Elementor Pro (needed for full dynamic field integration)

    ✅ Step 2: Create Your Custom Fields with ACF

    1. Navigate to Custom Fields > Add New
    2. Add your desired fields (text, image, link, etc.)
    3. Set the display rules to target the right post types

    ✅ Step 3: Use Fields in Elementor

    1. Open your desired page or template in Elementor
    2. Drag a widget like “Heading” or “Text Editor” into the layout
    3. Click the Dynamic Tags icon, then select ACF Field
    4. Choose the field you previously created

    ✅ Step 4: Style It!

    Elementor’s visual editor gives you complete styling control. You can customize colors, fonts, spacing, and layout — all without touching code.

    SEO Tips When Using Elementor and ACF

    🔍 Use Custom Fields for Rich Snippets

    ACF enables you to structure your content for better semantic clarity. For instance, you can use custom fields to define:

    • Product prices
    • Event dates
    • FAQ items (ideal for FAQ schema)

    Then, enhance visibility by applying schema markup using SEO plugins like Rank Math or Yoast SEO.

    📱 Optimize for Mobile

    Elementor includes responsive design controls out of the box. You can show or hide specific elements and reflow layouts based on device screen size. Consequently, this ensures a smooth mobile experience — which is a key ranking signal.

    🚀 Improve Page Speed

    • Minimize heavy Elementor widgets and only use what’s necessary.
    • For large-scale content, ACF Blocks (Gutenberg) may offer better performance.
    • Enable caching and compress your images to reduce load times.

    Best Use Cases for Elementor and ACF in WordPress

    • Real Estate Listings
    • Team Pages
    • Portfolio Showcases
    • Event Calendars
    • Testimonials with Ratings
    • Car Dealerships (using ACF to manage vehicle data)

    Final Thoughts on Using Elementor and ACF

    The combination of Elementor and ACF offers unmatched flexibility. With powerful design freedom alongside structured, SEO-friendly content, this duo is perfect for both beginners and seasoned professionals.

    If you’re serious about WordPress in 2025, this duo is an essential part of your toolkit.

    Need help getting started? Check out the ACF official documentation.

    You can also explore our guide on creating custom post types in WordPress — a perfect match for ACF.

    Elementor documentation